the.clay.solution
I confess, this wasn't originally my idea, but it works well and I wanted to share it. In my classroom I have an area set up as "Clay Corner" with all the clay supplies. I teach a lesson in clay to 6th and 7th graders each 6 week cycle. I also teach pottery for 6 week sessions 3-5 times a year. We do not have a pug mill in our classroom.I have instructed the students on how much clay to gather and walk them through the process on putting clay away. By the end of the first two days, kids are well educated and it carries through from 6th to 8th grade. One thing I've learned it, have a system, be consistent and it surely helps.
Here is my system:
GETTING STARTED: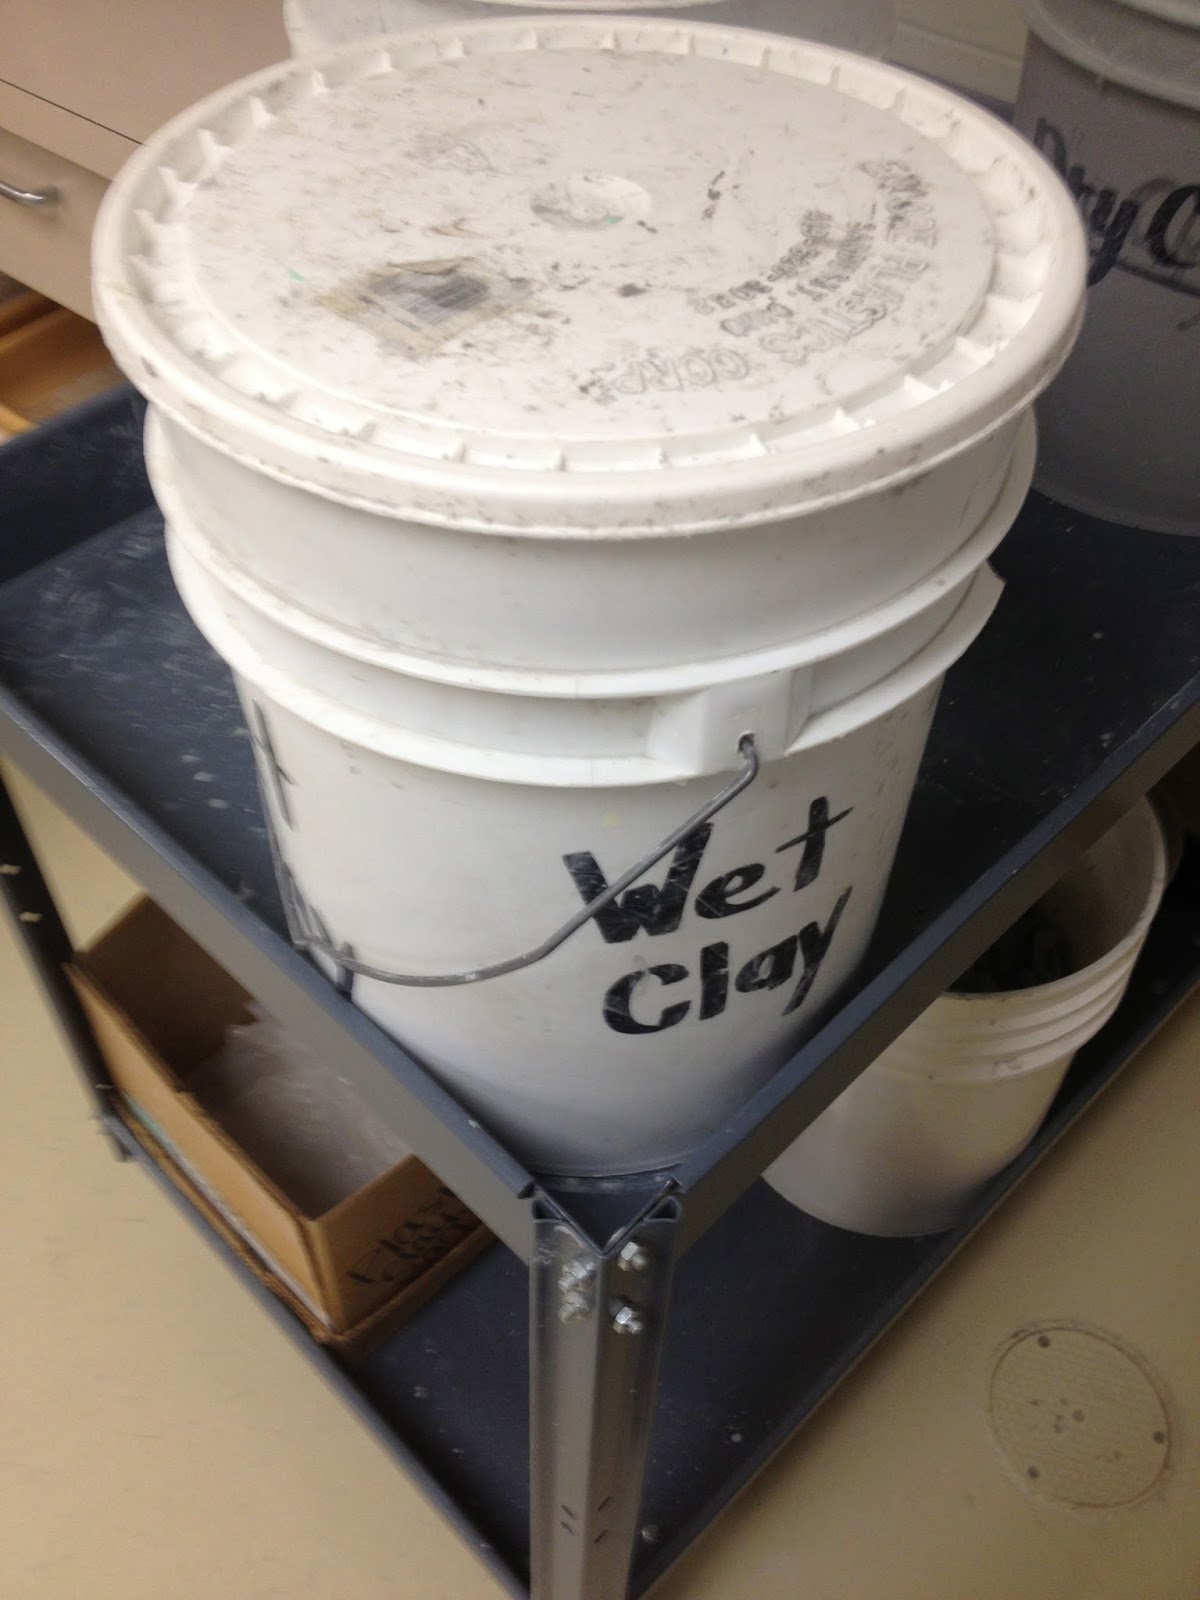

- "Get Buckets"- gather up some old 5 gallon paint buckets with lids. Try asking your cafeteria staff if they have any of the sort. 2-3 works well for my classes and class sizes. I label two with "WET CLAY" and 1 with "DRY CLAY" (I also keep an extra bucket full of broken greenware)
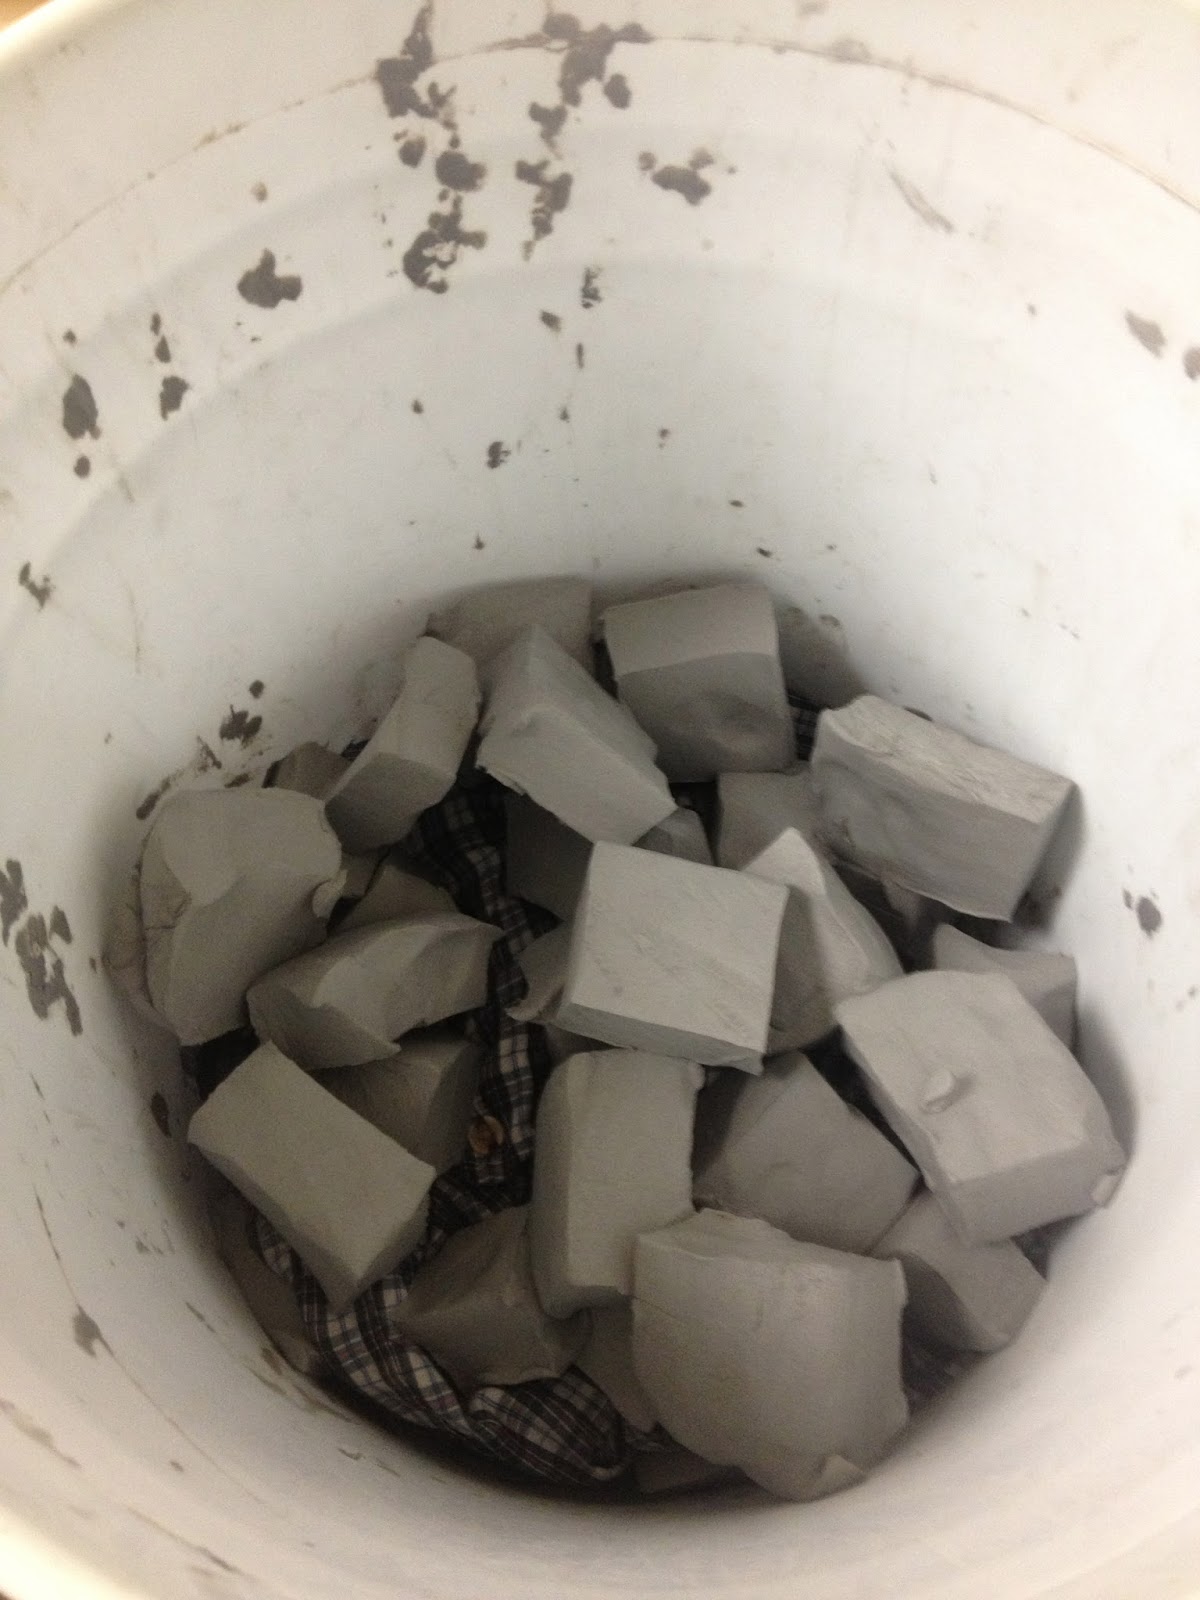
- Then cut the clay into baseball sized pieces of clay using a wire cutter.
- "Old Shirts" - Layer damp shirts between stacks of the clay cubes you have made.
This will keep the clay moist.

RECYCLING FOR 'TOMORROW' or later hours:

- Students are instructed to use their scrap clay to 'stamp' gather any remaining bits of clay on their desks. They then get to 'wedge' the clay by stamping it into a square.
- One method I do often is I have the students add their square to the first square on the back counter. (Sometimes this can create distraction, so I assign a student to gather all the squares) Then we simply keep adding the squares together and "wedge" them into one large square. This a good activity for the restless and those that clean up or finish early.


- Finally, I take the large cube of clay and start the process all over again. I cut the clay into the sizes I want, or slabs. I take the used clay and layer it in between damp t-shirts. If the clay is especially dry, I use the dry clay bucket and keep the shirts pretty damp. (Watch clay on the bottom as all the water seeps that way, the bottom of the bucket should be lined with a shirt.)
- If the squares the kids make are a good size and not made into one giant square, I will just recycle them that way.
- THAT'S IT! Works quite well for me! I hope it helps you too!


Awesome idea! THanks for sharing! What do you of with your dry clay?
ReplyDeleteThanks Mindy! I have an extra bucket around for anything that is too dry. (my bone dry/greeware bucket) I use that bucket to make slip and demo stages of clay.
DeleteFor slip I will put the broken clay into an ice cream bucket and add water. I keep slip on hand in the ice cream bucket, and fill small butter containers as needed.
Hope this helps! ;) Let me know if you have any more questions!
I'm going to try this! Thanks for sharing, I'm been brainstorming how to recycle without a pug :)
ReplyDeleteIf you leave it too long the shirts begin to decompose.
ReplyDeleteI put clay in the extra storage bins with a big, heavy duty, trash bag liner filleted open to keep the wet clay from sticking to the bin. Allow it to dry completely and make sure it is broken up into cookie sized pieces. Add water, cover with remaining bag hanging out of bin..... wait and then wedge it when ready. Older kids can help you out, or make them wedge the reclaimed clay with "new" clay from out of the bag from your supplier.
I usually use the t-hirt technique using slabs in a plaster lined bucket or container, and I usually get back to it within the week.
I use the plastic bags that the clay comes in to separate the layers of clay in my wet clay bin (lined with a trash bag as well). That works too and there's no decomposing of the shirts to deal with. I also have the kids end my semester by using a rolling pin over the dry clay pieces to crush into powder to make slip for the next semester coming into my room. They LOVE to crush the clay!!!!!
ReplyDeleteAre they crushing the clay in a bag to contain the mess and reduce clay dust in the air? Clay dust is a health hazard as it contains silica which is bad for your lungs and can lead to silicosis over time.
DeleteThanks great idea.
ReplyDeleteIf you will use felt rather than shirts, felt is made with lanolin and will not mold or mildew. If leaving clay in bags for months wet felt lay on top of clay in bags
ReplyDeleteDamp clay is made up of fine platelets which ride within a thin cushion of water. When a slab is rolled out, the pressure thins out the clay and also moves the platelets so that they are aligned with the direction of the force. In essence, the clay takes on a grain, much like the grain in a piece of wood. Unless modified, the platelets will remain aligned in that grain throughout drying and firing.
ReplyDeleteThis is where problems can develop. Grain in a slab will affect the clay's shrinkage. The slab will shrink more along the width, across the grain, than it will along its length, or with the grain. If pieces are assembled so that the grains aren't aligned in the same direction, the pot can literally pull itself apart during drying and firing.
visit below link for mare details
https://spinningpots.com/
You can also use cotton sheets. I cut the sheet into large squares with a pinking shears. Works well
ReplyDeleteThis is a good idea I'll be using it. Hoping to have the same luck.
ReplyDelete